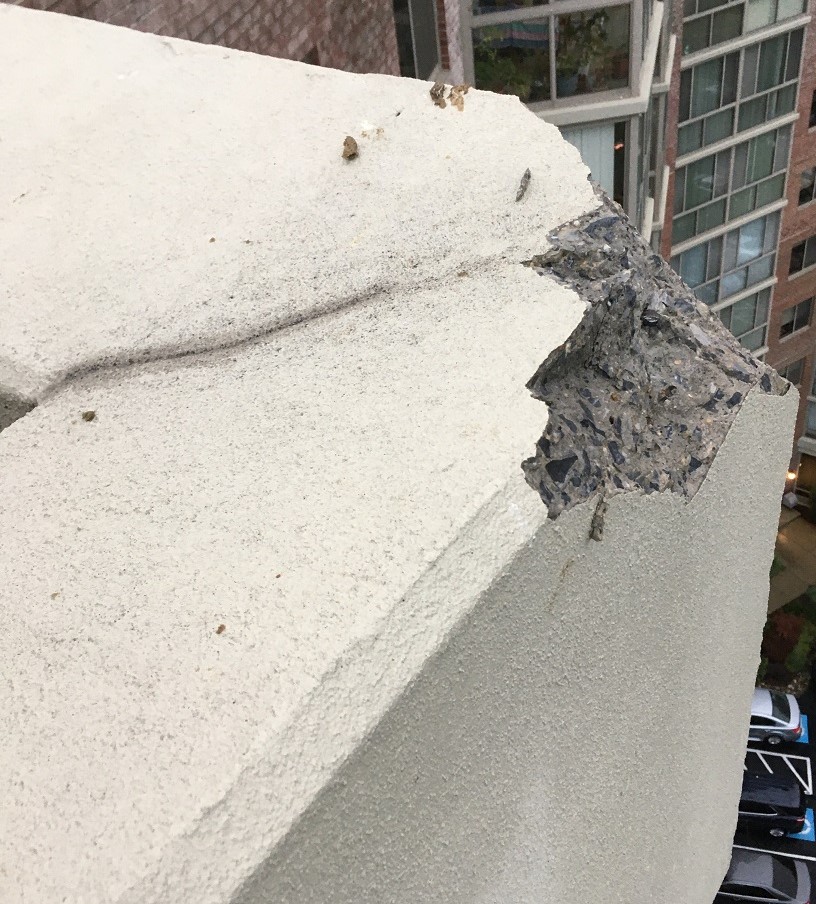
Does your building have lightning rods? The summer of 2020 brought with it some incredible lightning storms. Without a lightning protection system, buildings may be at risk of lightning-related damage, including electrical fires and physical damage to the structure. For example, take a look at the lightning damage to these rooftop parapet walls on a local high-rise building. Bits of concrete tumbled down to ground level, and the embedded steel even featured black char marks. Fortunately, the damage was minimal, quickly repaired, and nobody was hurt during the storm!
Although the cost for installing lightning rods is known to be high, protection against lightning-related damage can save buildings and save lives. Check out this Lightning Protection Institute website for an overview of lightning protection standards, technology, and design: https://lightning.org/lightning-protection-overview/
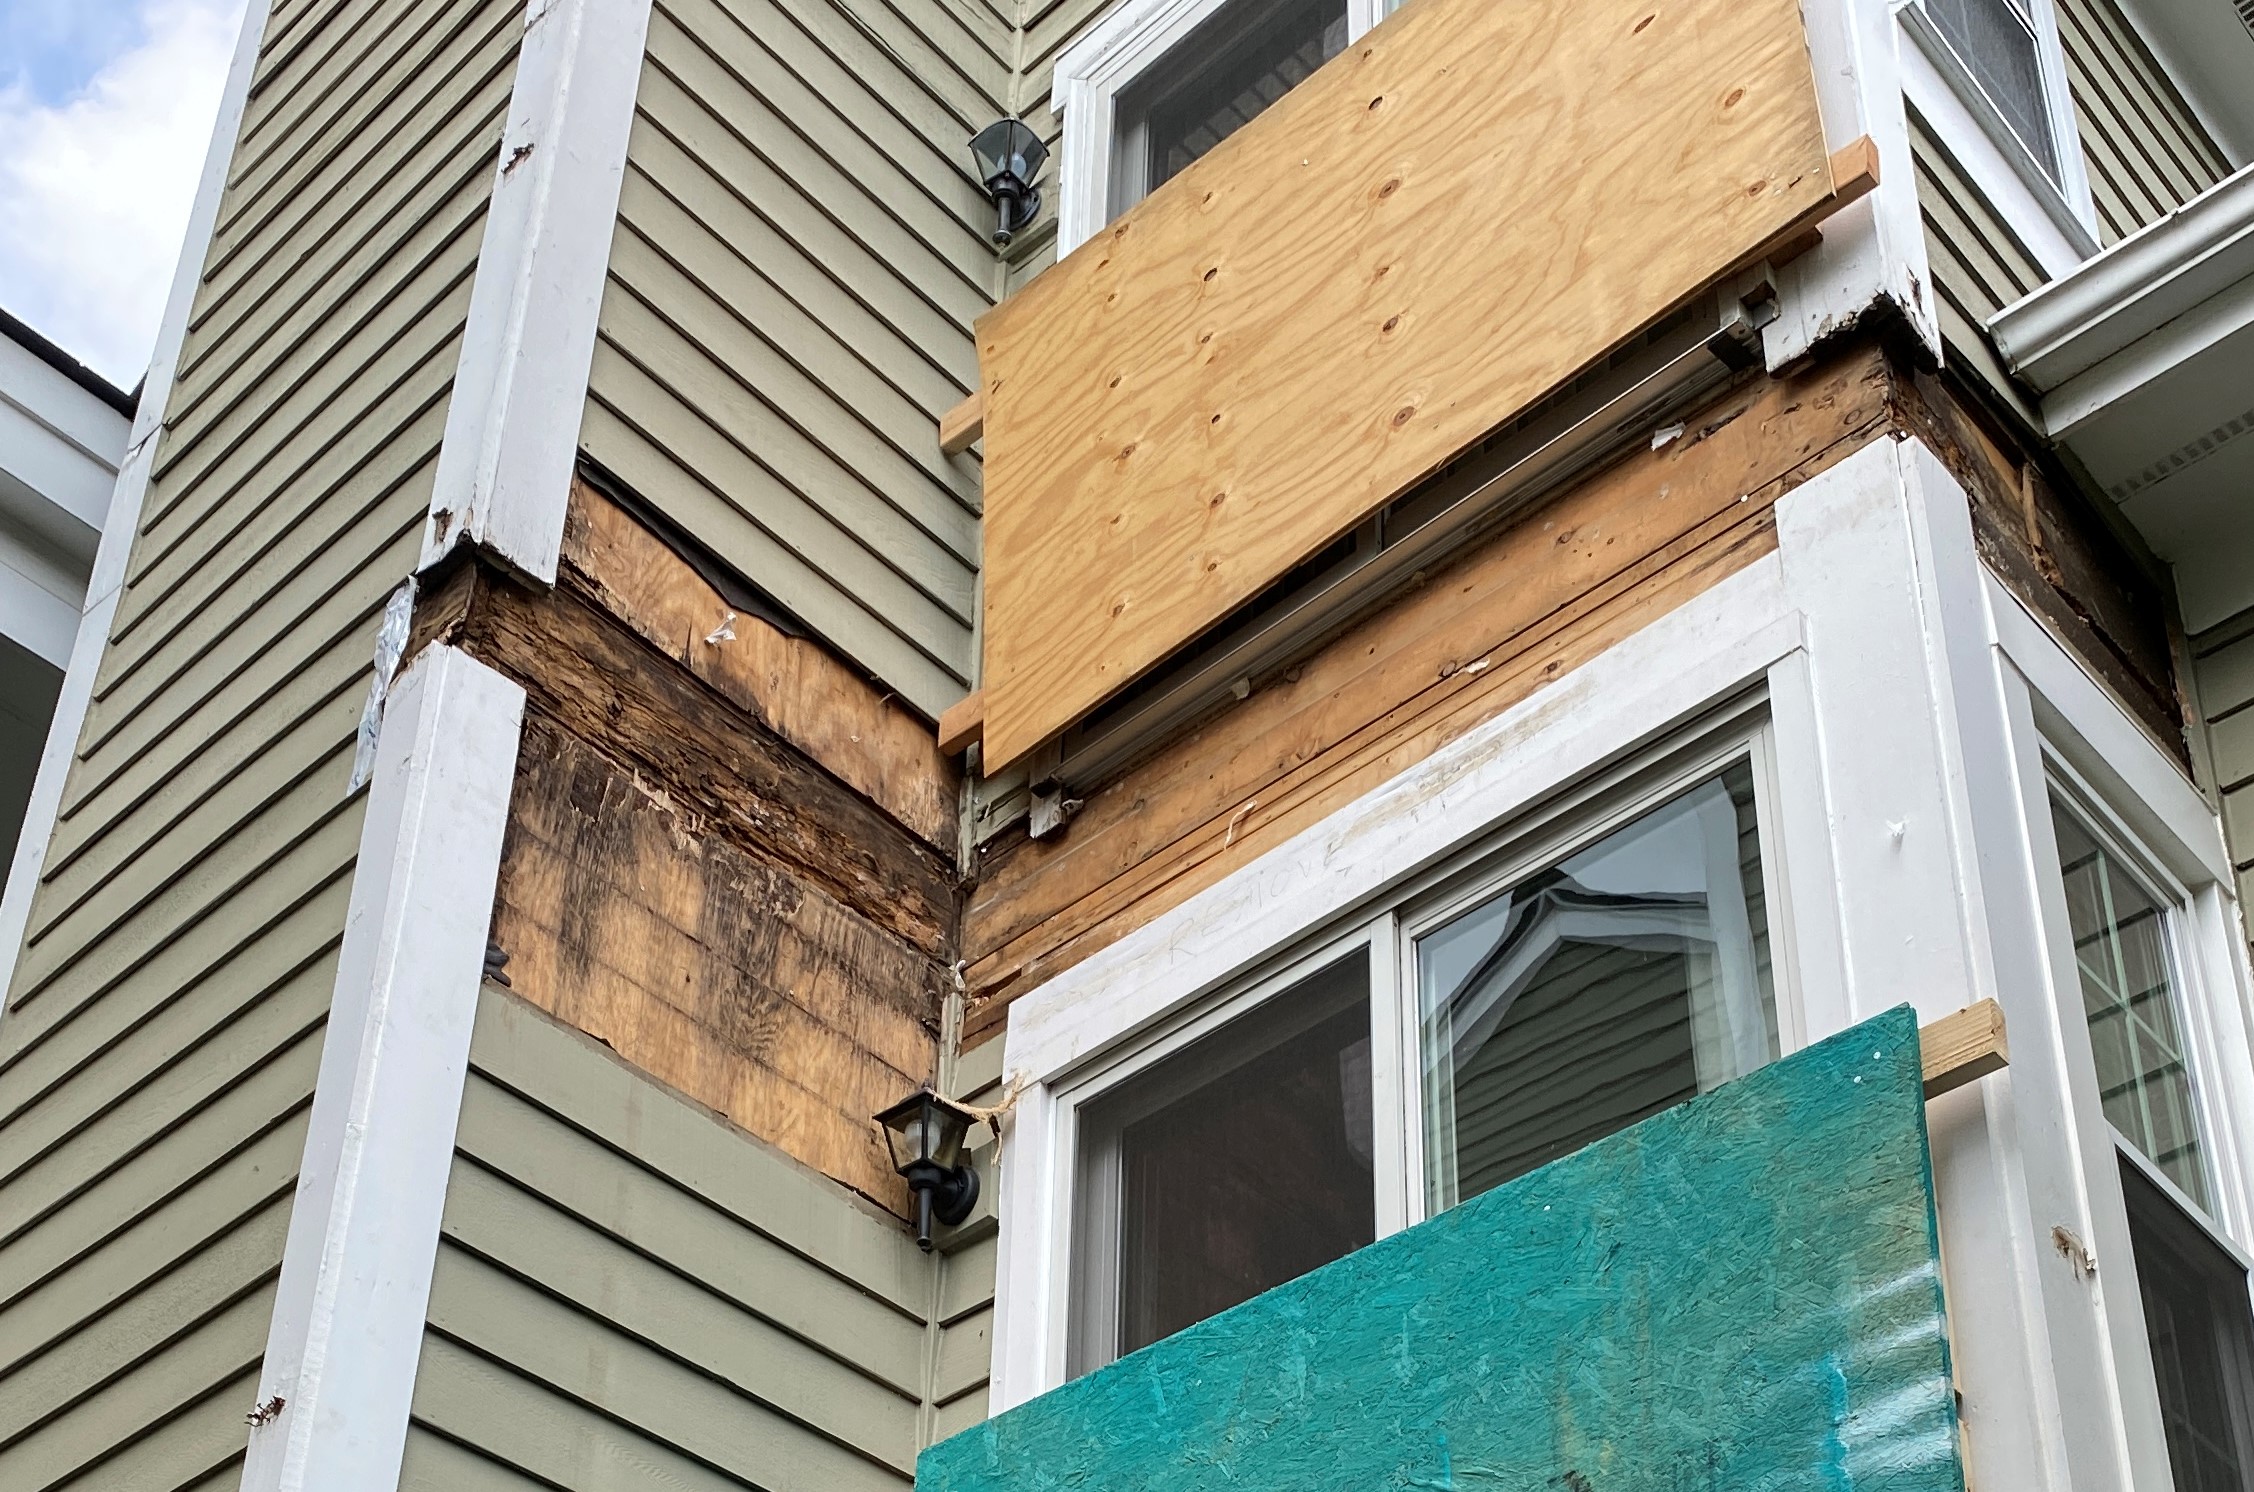
As the hurricane season is fast approaching, it makes sense to have an architect and engineer look at possible areas of damage/water intrusion in your building. This is the perfect time to address these issues before any damage is caused to your building due to heavy rains and/or high winds.
Here is a list of areas to inspect before the next rainstorm.
Site Grading; Making sure that the soil is sloping away from the building;
Building and Site Drains; Ensure that the drainage provisions (such as roof gutters, downspout, landscape drains) are clear of debris and are operational. If the gutter terminates at the building foundation, consider extending it away from the building.
Exterior Cladding; Ensure that the building facade components are adequately secured to the building, such as gutters, downspouts, metal coping, canopy, cornices and are not loose or partially detached.
Sealants; Ensure that an excessive opening in the sealant joint is visually inspected and repaired.
Roofing; Inspect roofing membrane and associated components (joints, penetrations, parapet wall caps, chimneys, etc.) to help assure that these components are intact and watertight.
The wind driven rains can be very unpredictable and can cause damage. However, larger damage to the building can be avoided/minimized, if the above mentioned areas of concern are addressed before a major rainstorm.
In order to get your next roofing project off to a good start, be it minor repair or total replacement, the following is a list of items to discuss with your contractor to help ensure both parties are on the same page prior to starting the work. Reviewing some of these key items prior to job start-up will help both parties understand what is expected and hopefully make the job go a little smoother.
1. Review scope of work with the contractor to make sure everyone understands what work will take place. Ask if possible change order items are anticipated and what the unit costs may be for additional work.
2. Understand what the contractor’s anticipated start and completion dates are for the entire job. Knowing the working hours and if weekend work will be allowed is also important
3. Identify storage, parking and work areas. Make sure the contractor understands his responsibility for keeping the areas clean and maintaining the security of his equipment and materials.
4. Make sure the contact person in the field as well, as the responsible person in the office, is identified in case problems arise. Have a list of all emergency numbers of key personnel prior to starting work.
5. Clarify whether the contractor will utilize certain facilities (such s water, electricity and/or restrooms) while working on the job.
6. Bonds, insurance certificates, building permits or any technical submittals should be obtained prior to starting work. The Contractor should be responsible for securing any state or local permits or inspections.
7. Inspect property and document any existing damage prior to starting work to help protect all parties.
8. Understand who is responsible for connection or disconnection of mechanical systems.
9. Find out what warranties will be given from the contractor and/or manufacturer.
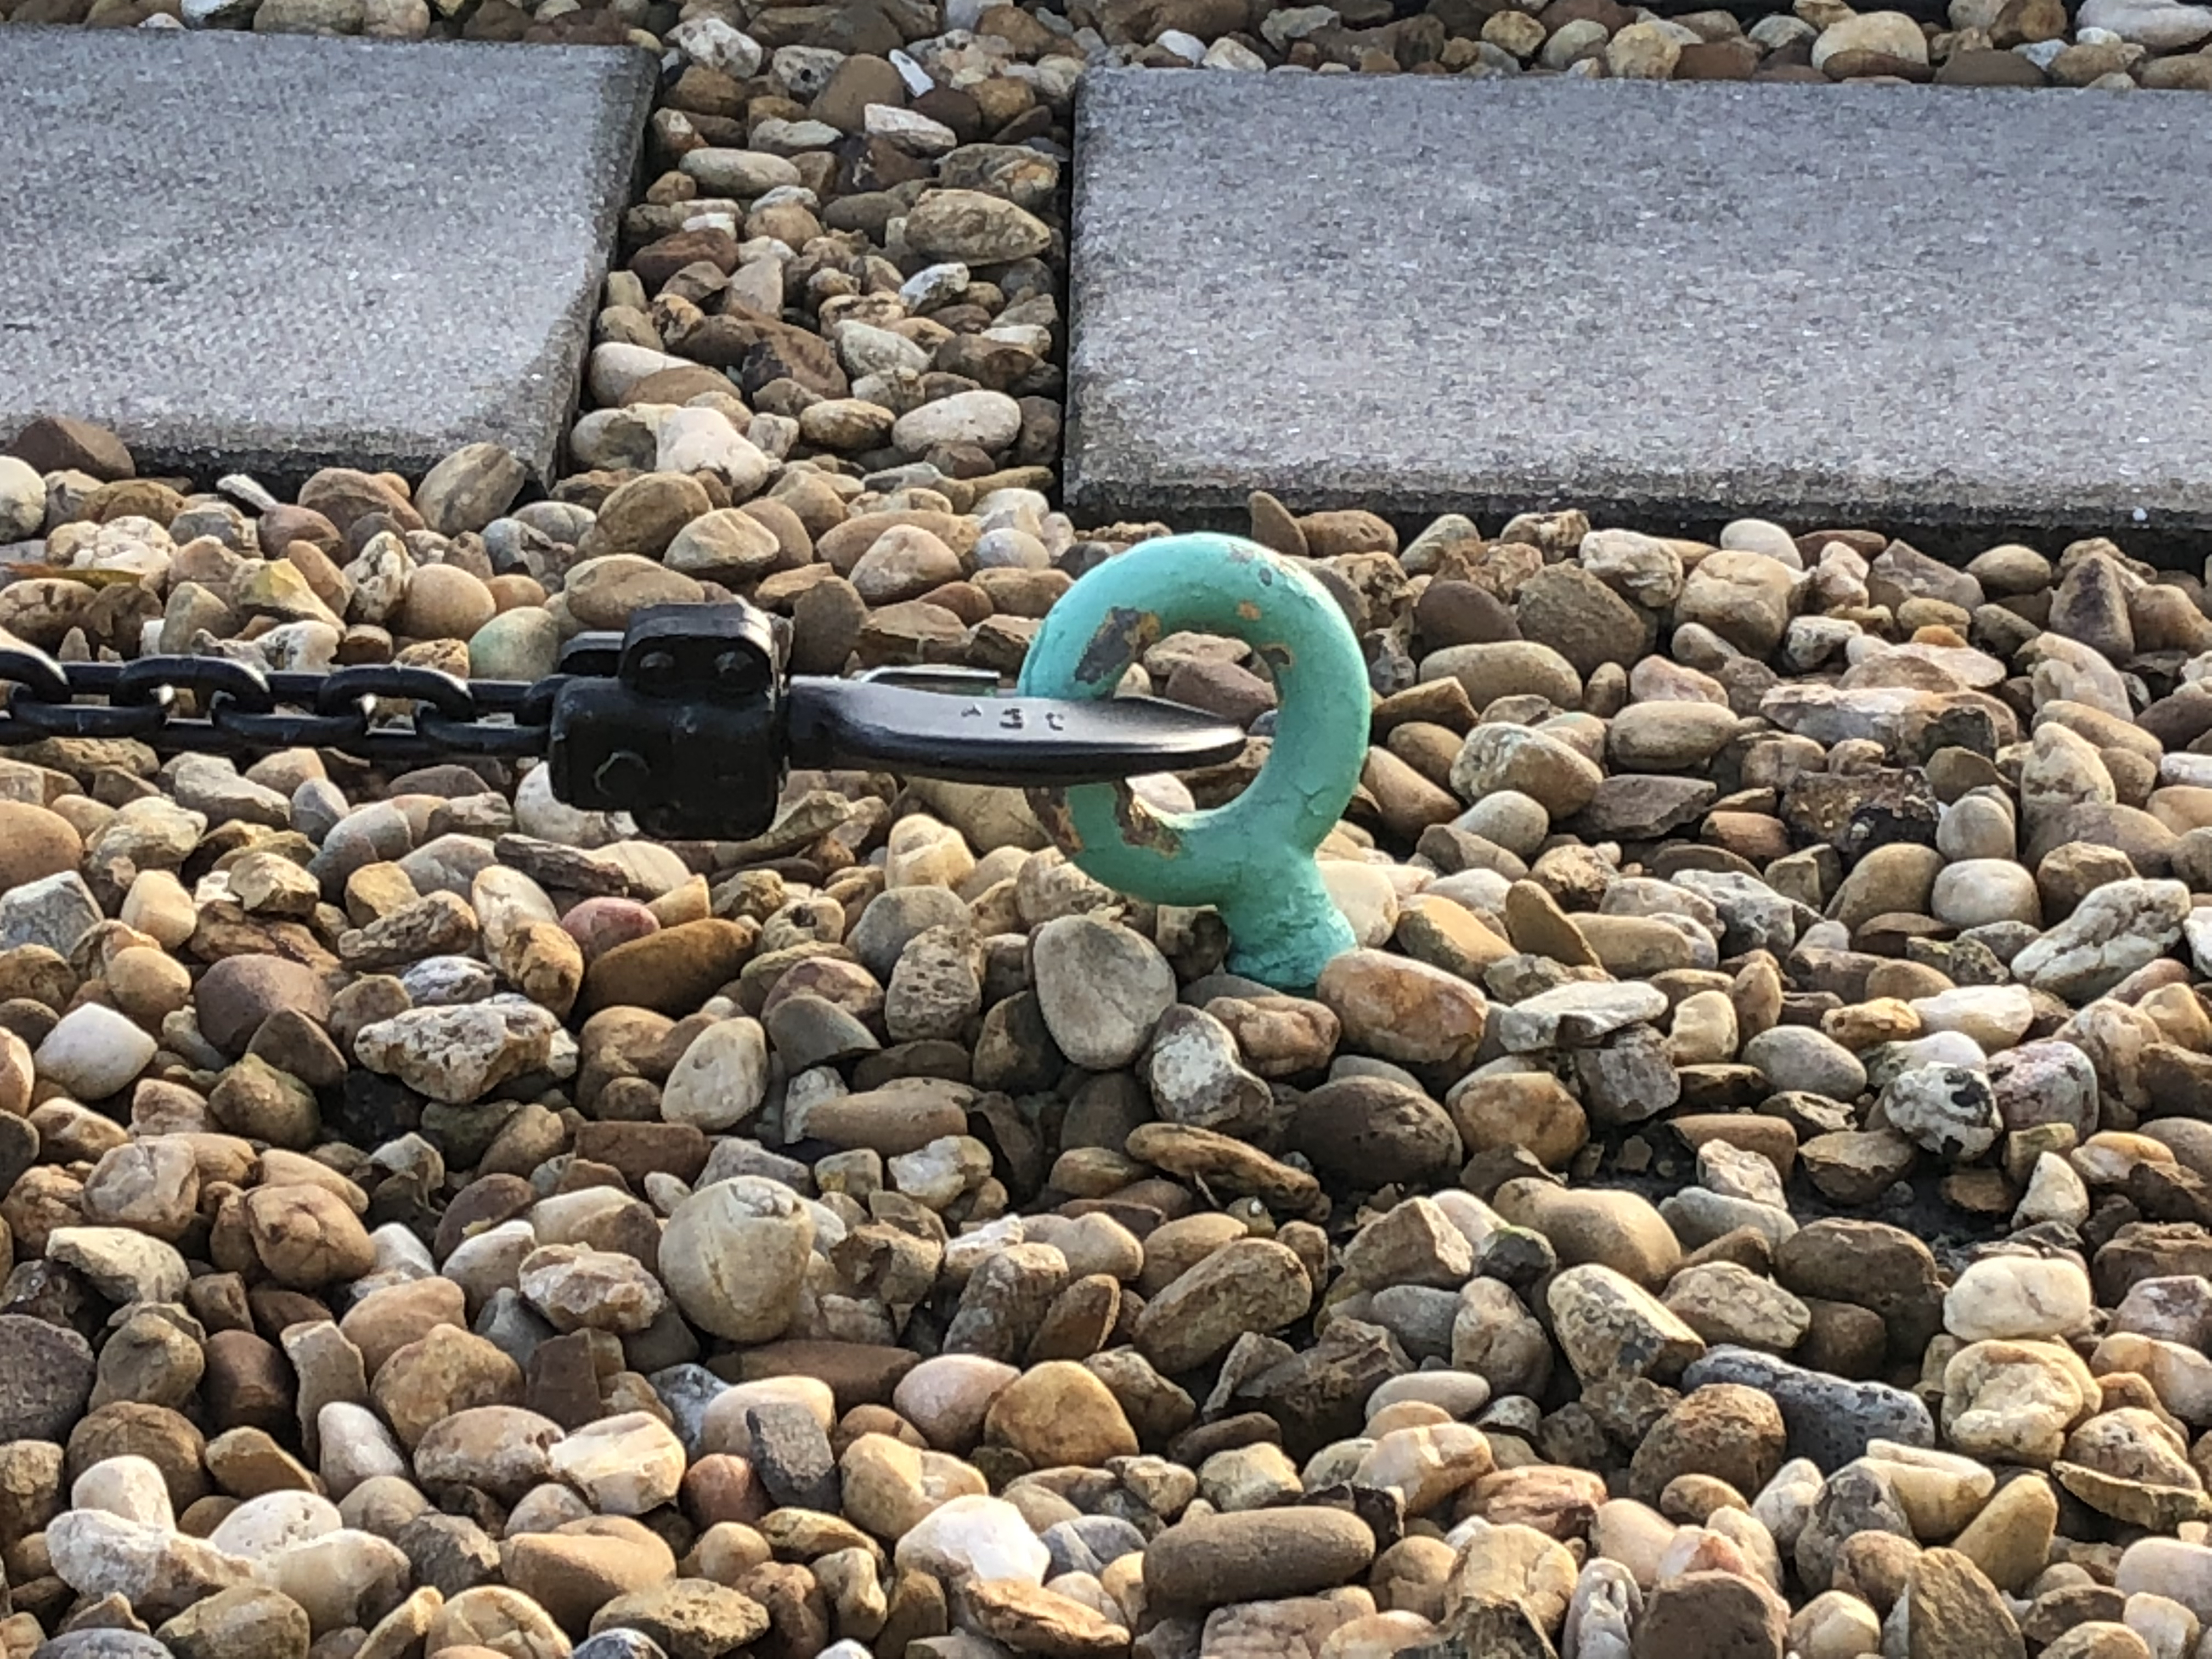
Before any rope descent system (i.e., window washing boatswain chair) is used on a building, OSHA now requires that each anchor be identified, tested, certified, and maintained so it is capable of supporting at least 5,000 pounds in any direction.
Did all your anchors pass the test?
The OSHA set November 20, 2017 deadline for physical load testing of these anchors has passed. (29 CFR 1910.27(b)(1)(iii)).
Did you make the deadline?
We loaded anchors of many different configurations and found that not all anchors passed this stringent test. If you have any anchors that have not been subjected to this testing in the last 10 years, they must be load tested and certified by a qualified person before they are used. This regulation also seems to apply to new anchors that were installed after the November 20 deadline and not just older anchors.
Don’t postpone your scheduled winter or spring window washing work, get your anchors tested soon. Call us @ 410-312-4761 or 703-450-622o | mindy@etc-web.com
With Summer just around the corner, you may want to consider converting that unused roof area into a gathering spot with a beautiful view. Rooftop decks can be quite appealing, but before sending out the party invitations, make sure to consider these few helpful tips
Hire a professional to specify maximum allowable occupants. Decks are designed for specific live loads (such as people, type of activity, snow, furniture) and specific dead loads (such as decking, pergola, railing). Therefore, design your deck for a specific number of people and specific activity.
Ask your design professional about cross-bracing (lateral support), a very important building code requirement that affects the overall look of the deck.
Study and understand exit requirements for your rooftop deck as specified in the building codes. Requirements for a multifamily residential building are more stringent and costlier than a single family home.
Specify proper slope for water drainage. Our recommendation is ¼” per foot, although every situation should be carefully considered. Waterproofing of your deck and roof are very important factors of your project, if not properly built or maintained, it can cause problems and expenses for the residential unit below.
Choose materials and construction details to last a long time. All framing should be pressure treated lumber and elevated above roofing material. Decking and railing material can be pressure treated or composite. Composite material is a mixture of sawdust, wood chips and vinyl. To keep it environmentally friendly, make sure the vinyl component is made from recycled plastic materials. Composite material is very low maintenance and there is no need for painting or staining.
Pay special attention to lighting and controls, especially in areas such as stairs, change of levels and door entry/exit.
What do you really know about your roof warranties? There may be separate warranties issued for various materials and the installing contractor may have also guaranteed workmanship. Each will expire at some point and there are things you should do to preserve your protections.
1. Review the documents and assure they were properly executed. If, for example the papers were never signed and returned to the manufacture, you probably don’t have a warranty.
2. Be aware of your responsibilities. Failure to properly maintain the system could void warranties.
3. Properly notify all involved parties (manufacturers, contractor, etc.) of problems within the 10 to 30 days typically required.
4. Be sure that repairs are made using approved materials and contractors certified by the manufacturer. Unapproved materials and repairs may void coverage, at least in the areas affected by repairs.
5. Have a knowledgeable person evaluate the roof covering periodically and within six months to one year in advance of warranty expiration dates. There may be conditions that could be corrected at no cost before coverage lapses.
Some warranties can be extended or renewed for additional cost; however it may not always be advantageous to do so. The manufacturer could impose maintenance or rehabilitative requirements that are unreasonable when compared with the value of the coverage. Spending $100,000 to get a five-year warranty extension on a $200,000 roof might not be the best use of the money.
With Summer just around the corner, you may want to consider converting that unused roof area into a gathering spot with a beautiful view. Rooftop decks can be quite appealing, but before sending out the party invitations, make sure to consider these few helpful tips
Hire a professional to specify maximum allowable occupants. Decks are designed for specific live loads (such as people, type of activity, snow, furniture) and specific dead loads (such as decking, pergola, railing). Therefore, design your deck for a specific number of people and specific activity.
Ask your design professional about cross-bracing (lateral support), a very important building code requirement that affects the overall look of the deck.
Study and understand exit requirements for your rooftop deck as specified in the building codes. Requirements for a multifamily residential building are more stringent and costlier than a single family home.
Specify proper slope for water drainage. Our recommendation is ¼” per foot, although every situation should be carefully considered. Waterproofing of your deck and roof are very important factors of your project, if not properly built or maintained, it can cause problems and expenses for the residential unit below.
Choose materials and construction details to last a long time. All framing should be pressure treated lumber and elevated above roofing material. Decking and railing material can be pressure treated or composite. Composite material is a mixture of sawdust, wood chips and vinyl. To keep it environmentally friendly, make sure the vinyl component is made from recycled plastic materials. Composite material is very low maintenance and there is no need for painting or staining.
Pay special attention to lighting and controls, especially in areas such as stairs, change of levels and door entry/exit.
In the building repair industry, there is a technical organization known as the International Concrete Repair Institute (ICRI), founded in 1988. The organization was created in response to concerns about the lack of standards and guidelines industry-wide for concrete repairs. The vision of ICRI is to improve the quality of concrete restoration, repair and protection through education of and communication among the members; and, those who use their services. Throughout the country, there are thirty-six (36) chapters that follow the guidelines and standards set by the national level. This region falls under the territory of the Baltimore-Washington Chapter of ICRI.
Once a year, each individual chapter holds a project of the year competition and accepts applications from its chapter members. Typically, the restoration projects submitted are unique and complex in nature. This year, Engineering and Technical Consultants (ETC) was awarded first place for the Baltimore-Washington Chapter project of the year.
The project submitted was for a major roof replacement at Greens I of Leisure World, 55+ community located in Silver Spring, Maryland. Please view the slide presentation to see the extent of this major restoration project.
[themify_button style=”large light-blue flat rounded” link=”/wp-content/uploads/2015-ICRI-Award_web.pdf” target=”_blank” ]View Slideshow (PDF)[/themify_button]
Congratulations to Bobby Radcliff, P.E. (ETC) and everyone involved. Job well done!
Words can have a number of meanings and can even change meanings with time. This is especially true of terms specific to a technology or industry. Following are definitions of a few roofing and paving terms that people outside those trades (such as board members) may hear and not fully understand.
Overlayment – Placement of a new roof over an older covering or placement of a new asphalt surface course over an existing pavement.
Resurface – Install a new layer of asphalt (overlay) onto an existing pavement. Should not be confused with seal coat.
Seal coat – Apply a coal tar or asphalt slurry over asphalt pavement.
Tar – Stuff that dinosaurs got stuck in; the nasty stuff in cigarettes. Should not be confused with asphalt used in paving and roofing.
Coal tar – A byproduct of steel smelting used for producing pavement seal coating and interply waterproofing in some roofing systems.
Fishmouth –What a fish eats with; distorted membrane lap in roofing, resulting in an opening.
Shark fin – A closed fishmouth in roofing.
Spud – Tool for removing aggregate surfacing from a roof; the act of removing the aggregate; tater.
PRMA roof – Protected Roof Membrane Assembly, wherein the membrane is adhered, applied or laid onto the roof deck and is covered with a layer of insulation and ballast.
Ballast – Heavy materials (typically stone, concrete pavers, etc.) placed on a roof to hold down insulation or loose-laid membranes that might otherwise be blown off by wind.
Loose-laid – Not fastened or adhered.
Mud – Roof cement.
#$%! Gooey %&*@ – Roof cement.
Alligatoring – Interconnected cracking in pavement; pattern characteristic of depleted asphalt flood coat in roofing.
Flood coat – Hot (liquid) asphalt applied over top ply in built-up roofing system, usually followed by small aggregate surfacing.
Stoning – Installing aggregate surfacing in a flood coat on a built-up roof.
Resaturant – Material intended to rejuvenate asphalt in pavement or roofing by replacing depleted volatile constituents; waste of money.
Consultant – Someone who knows a hundred ways to make love, but doesn’t know any women.
Pitch pocket – Roof flashing consisting of a receptacle for sealant (or pitch), placed around an opening through which utility lines or other items penetrate a roof.
Solar panel systems are lighter than most people expect. Generally, they add less than 4 lb. per square foot of load to the roof. Most construction after 1970 is designed to support much greater loads than this and may not require structural upgrades. Buildings older than 1970 may need some structural work before the solar panels can be installed. Another important factor is the age and condition of your roof. A roof in poor condition is a cause for concern and repairs or replacement may be needed prior to installation.
Where to put the solar panels is important for maximizing the exposure to sunlight throughout the day. The orientation for maximum efficiency is due south. Southeast and southwest are also efficient orientations if you are unable to put panels directly due south.
Shade is a limiting factor for many solar panel networks. Different types of panels react differently to shade. A poly-crystalline panel will have a reduced output in the shade but a mono-crystalline panel will stop production all together. If shade is unavoidable, it is best if there are limited shadows during the optimum production hours (10 a.m. to 3 p.m.) The location of your building, in terms of latitude, determines the ideal angle of tilt for the panels. In Maryland, at a latitude of around 40 degrees, the best tilt range is between 20 and 40 degrees.
The number of panels needed is based on several factors. First, the average amount of energy that you want to generate and your building consumes a day is needed. Your monthly electricity bill can be then be used to see how much power your solar network needs to produce to keep up with your energy demands. An average sized solar panel produces around 100 watts per day. The amount of panels needed is based on this number as well as how efficient the angle and location of the panels are.